Tools you will need:
- Spirit level
- Tape measure
- String line
- Post hole digger or long handled shovel
- Shovel
- Measuring jug
- Hose or bucket
- Hammer
- Wheelbarrow or concrete mixer
- Spray marker paint
- Rod for tamping
Cement Australia has prepared this project guide to help you set posts using concrete with confidence. We hope it is useful, but we recommend you obtain expert advice confirming the suitability of the concrete product for your proposed application.
Click to play video
Tools you will need:
Materials you will need:
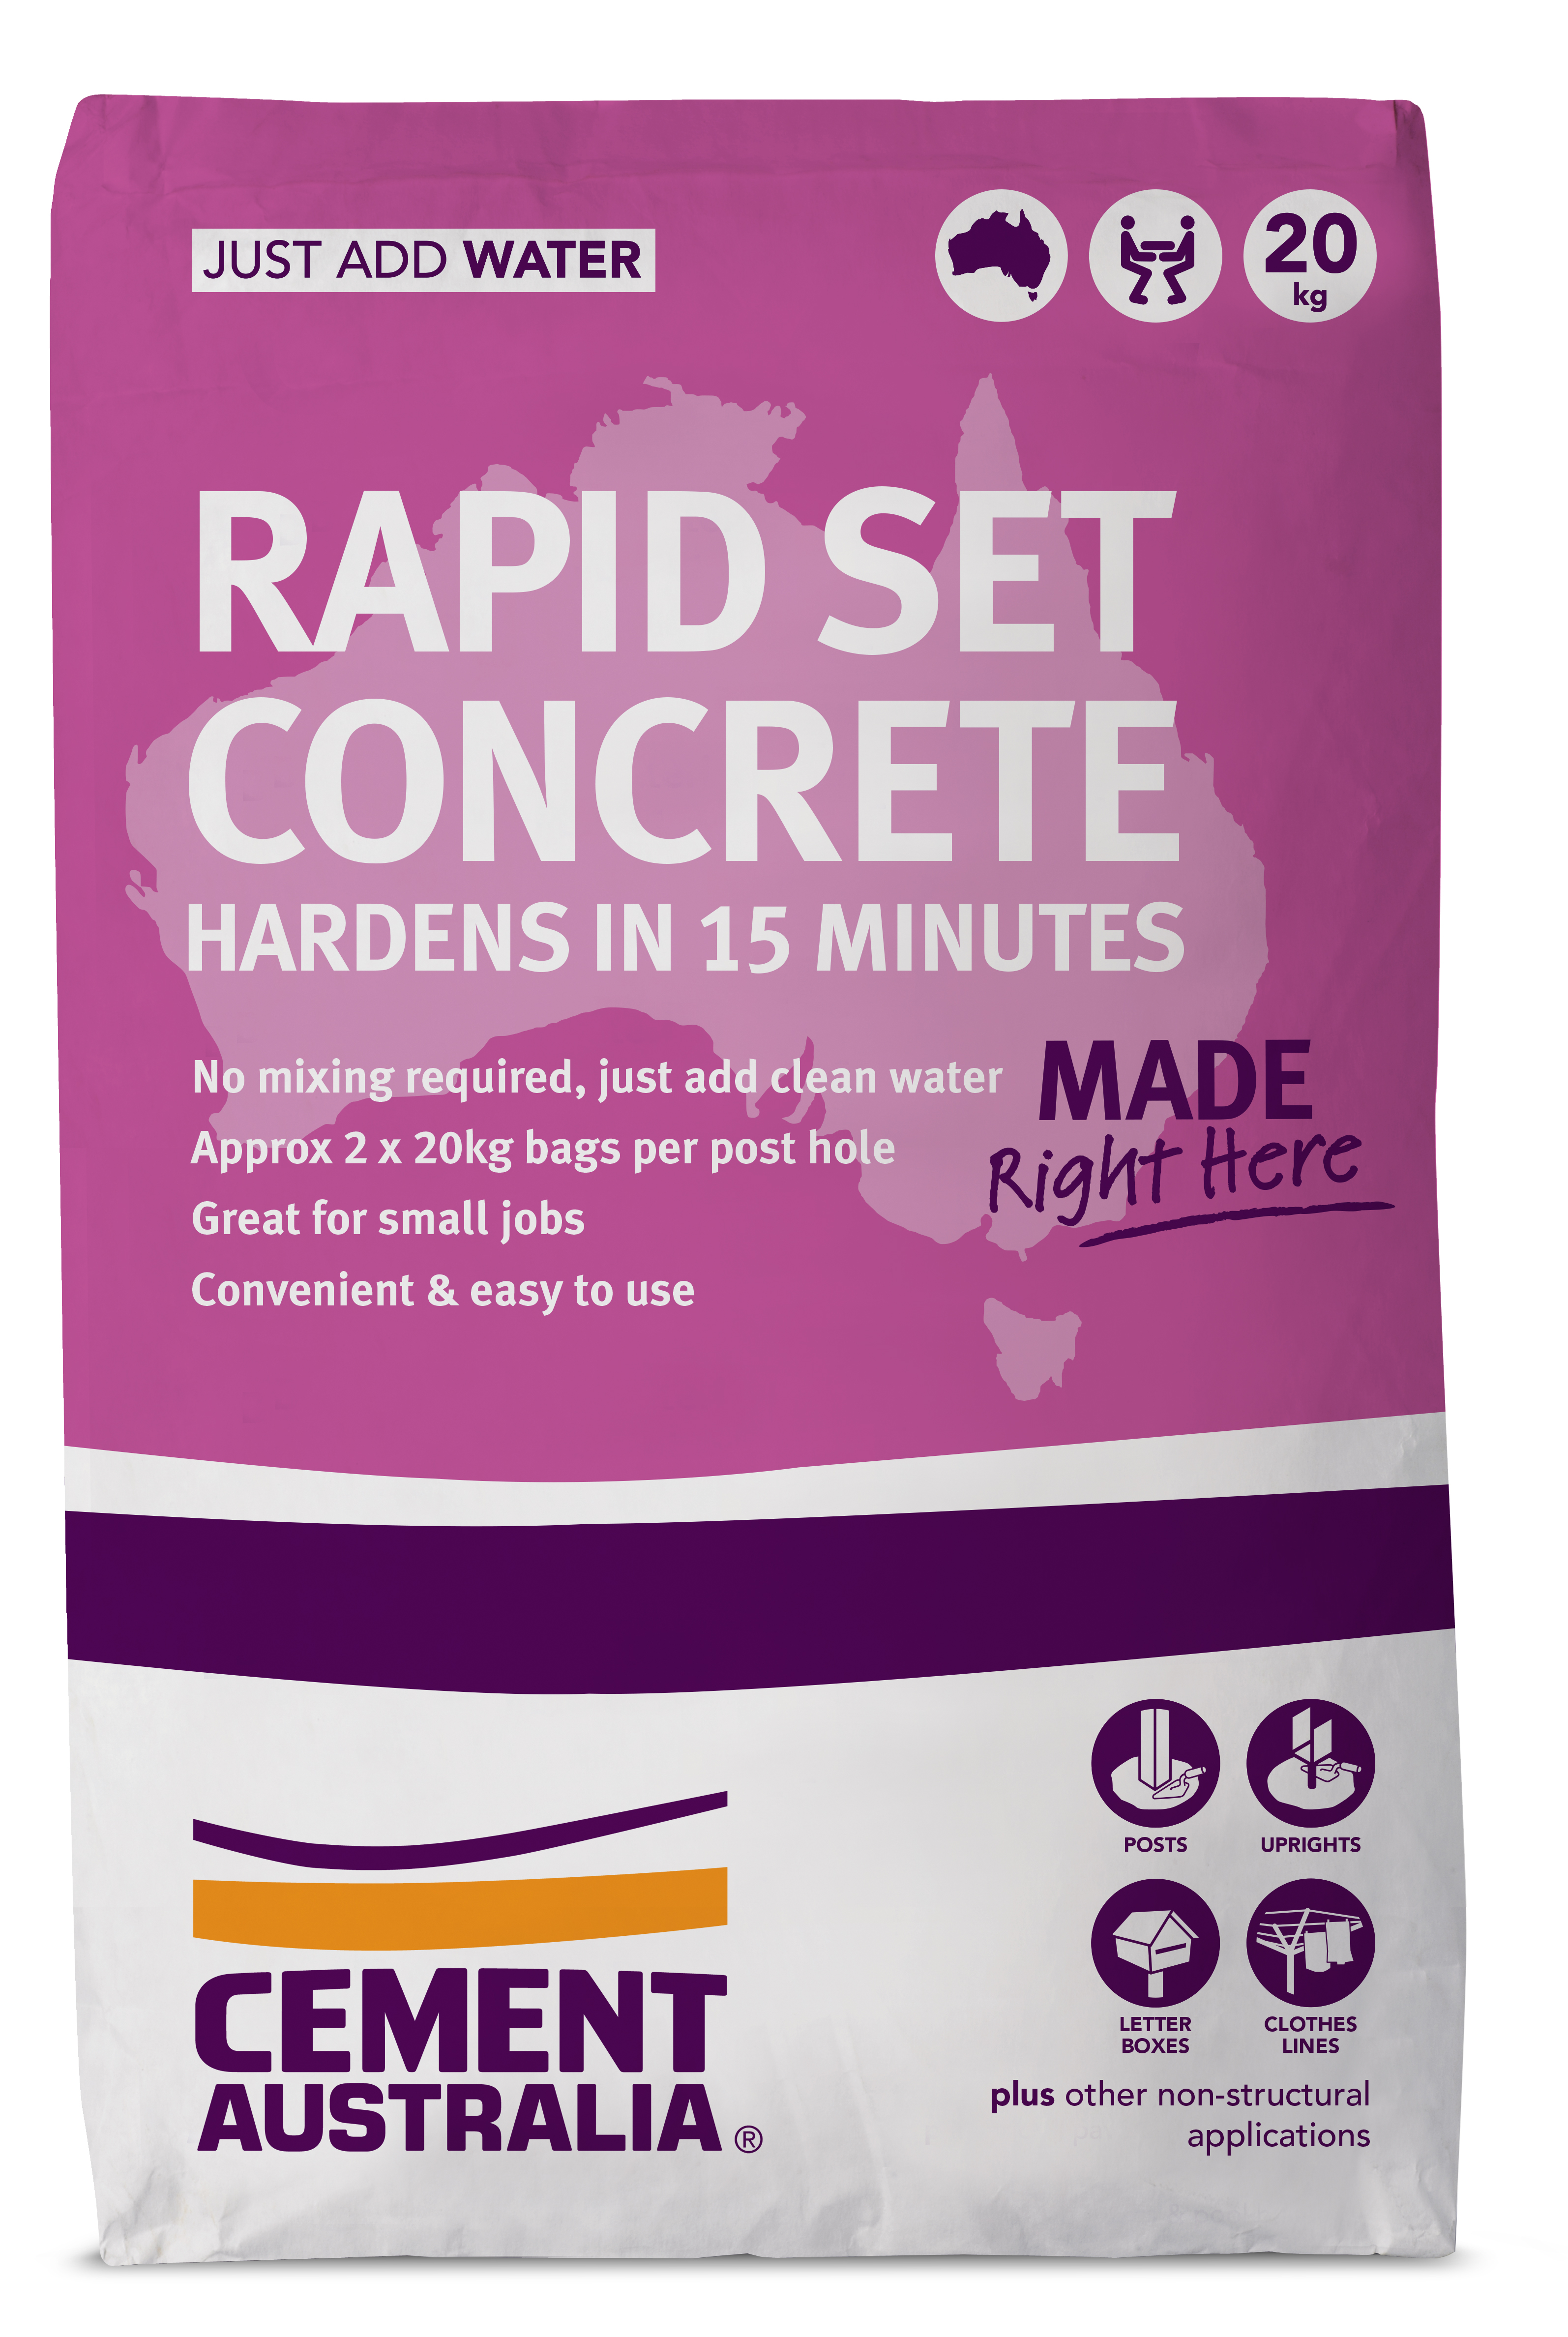
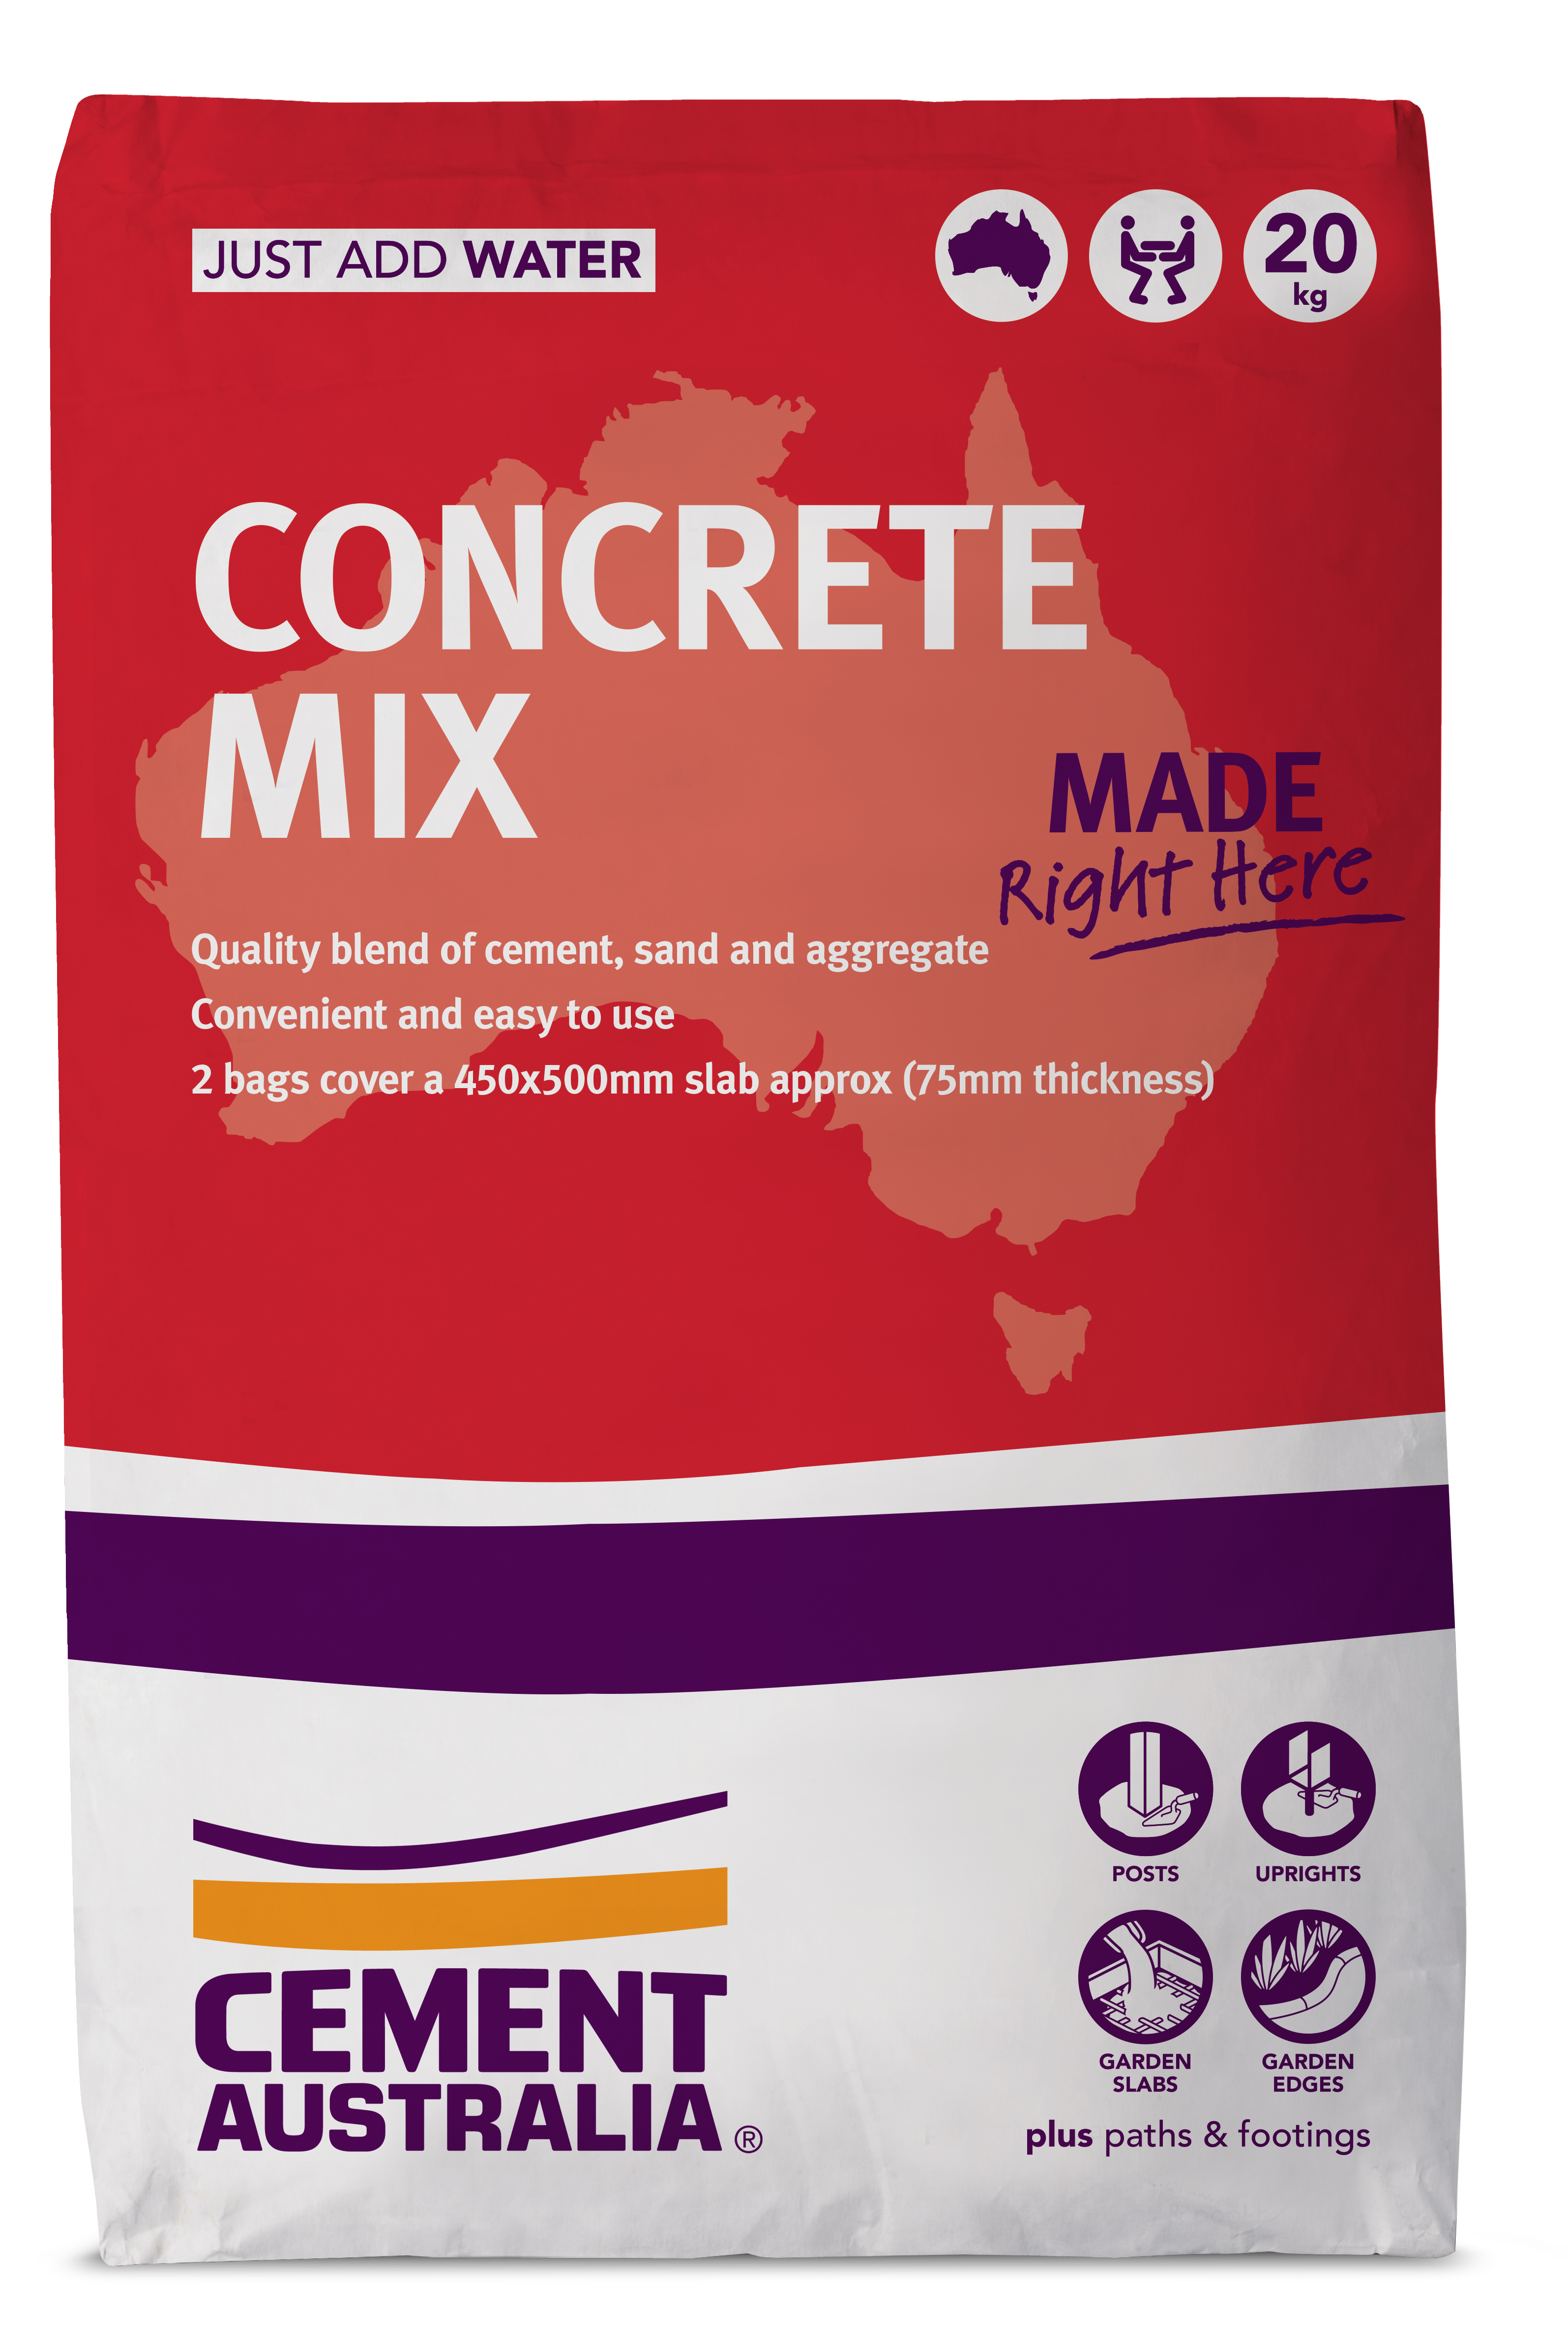
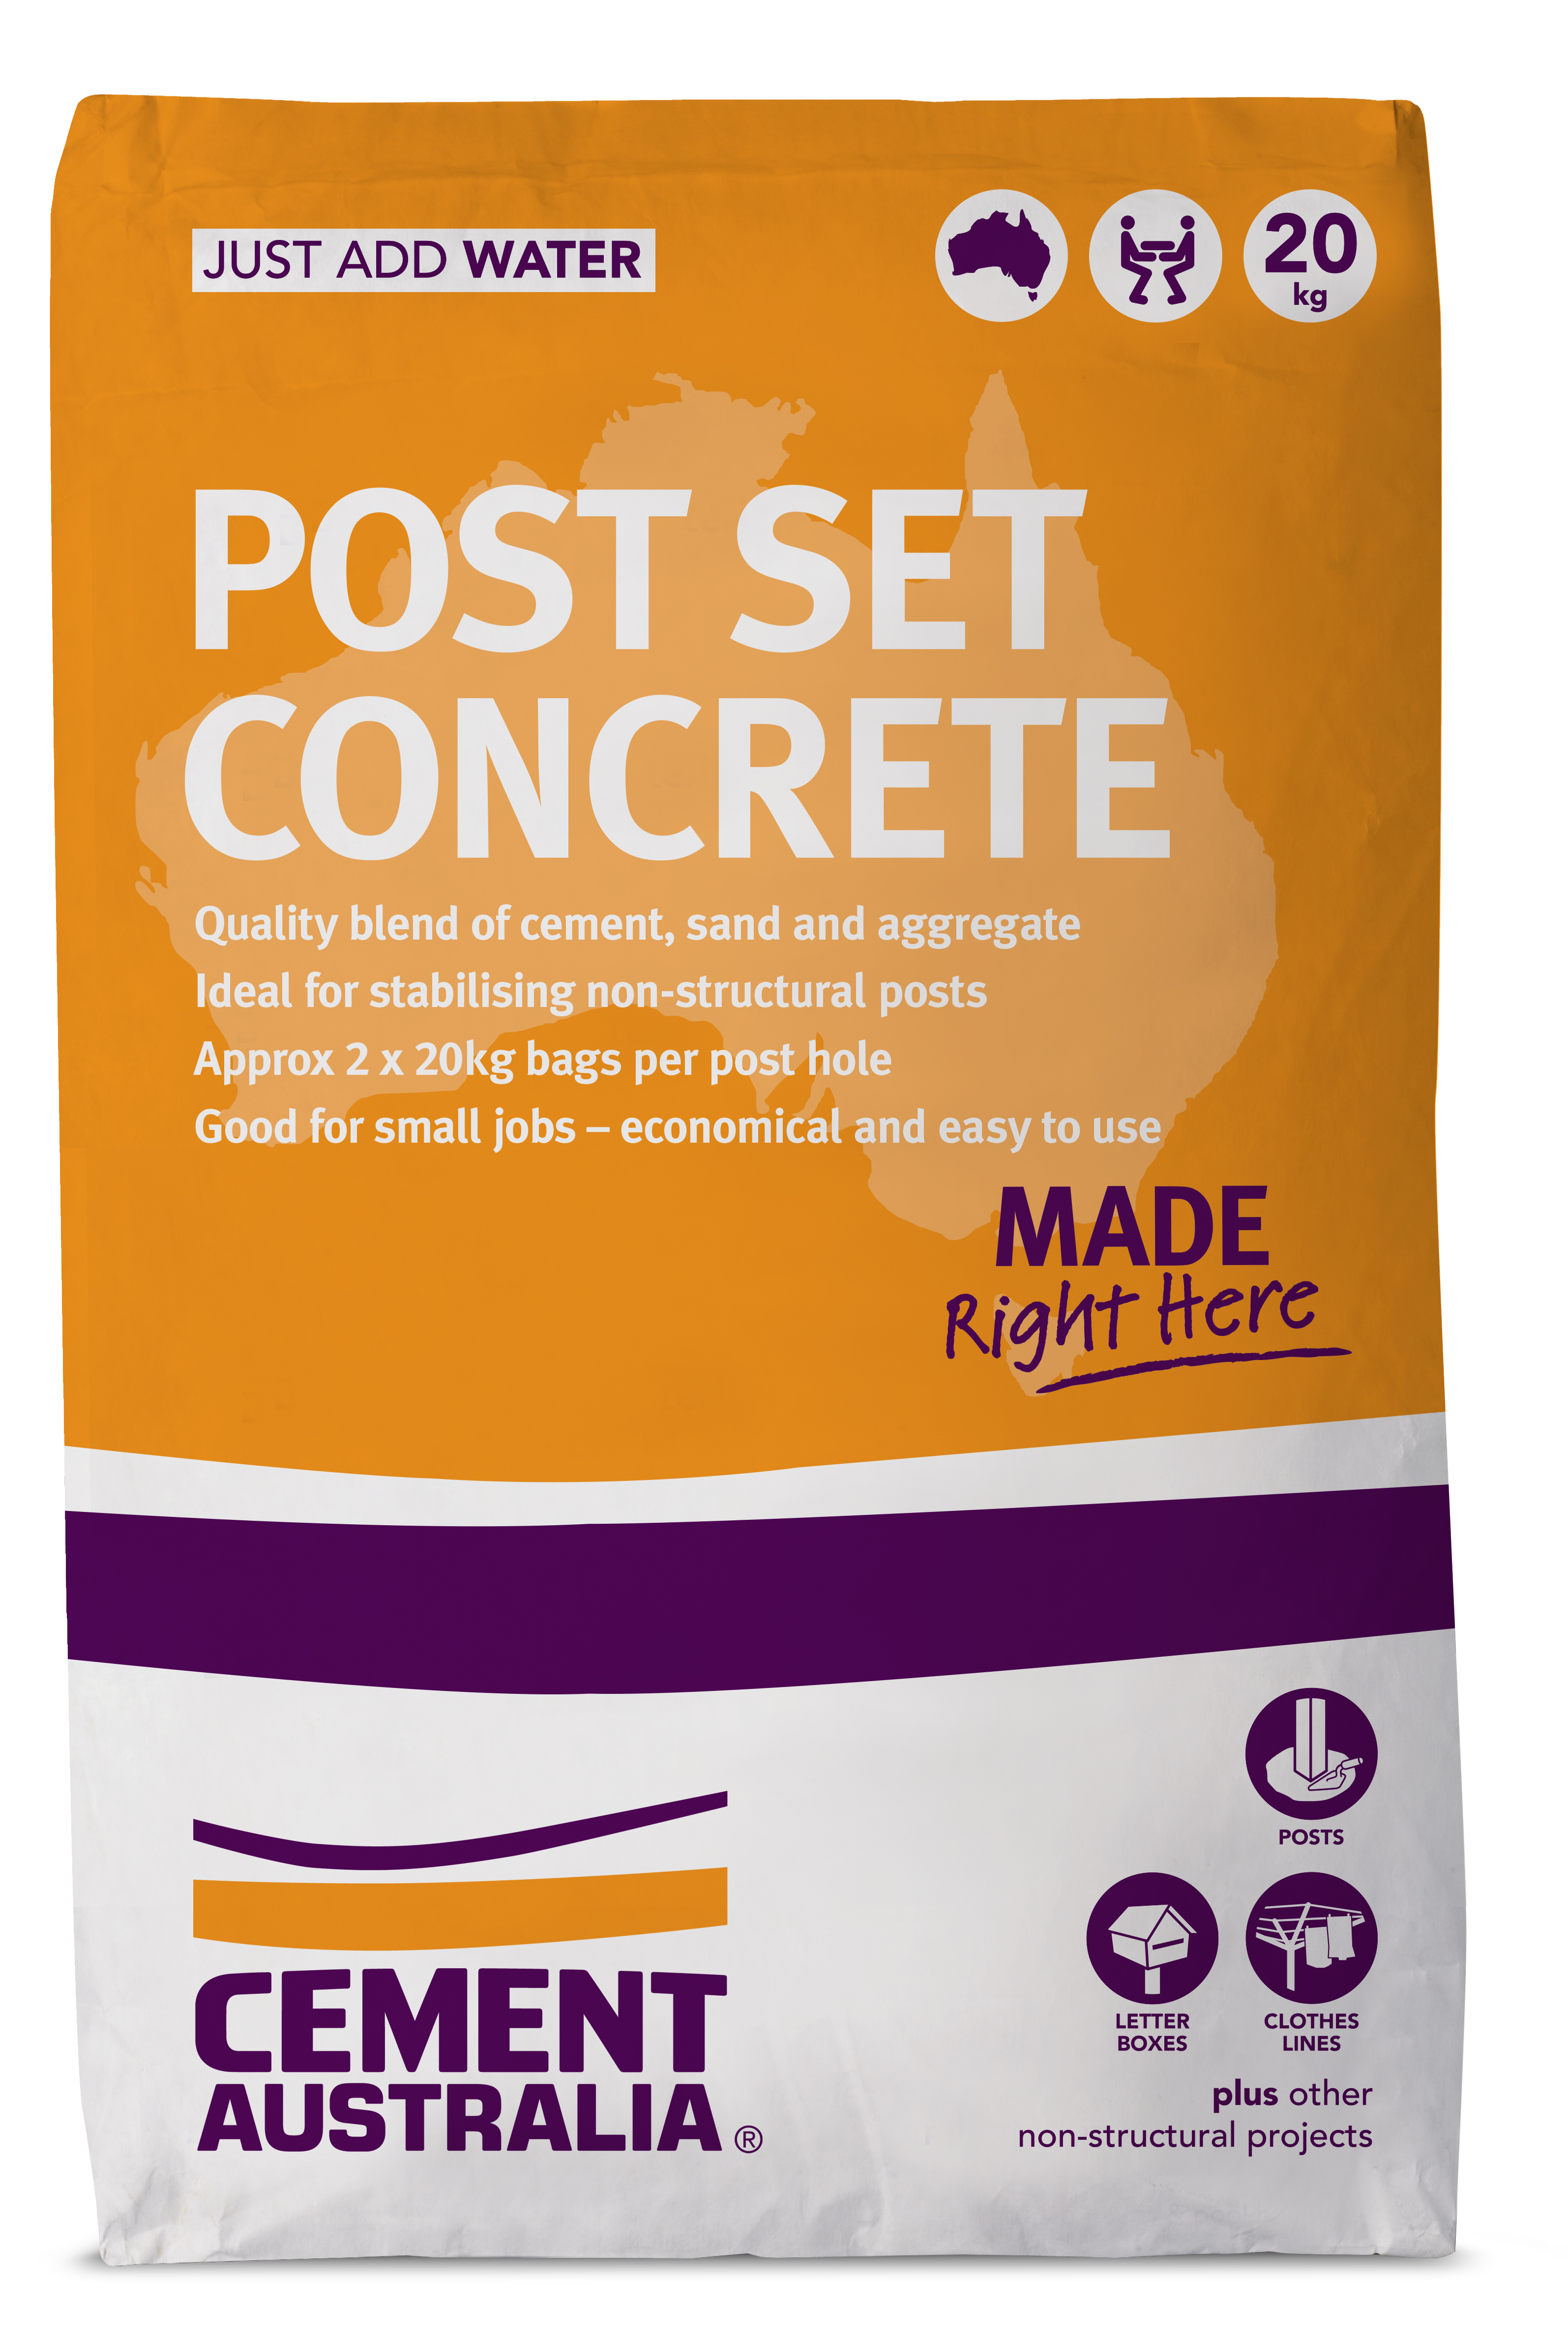
For timber fence posts, you can use any of the Cement Australia 'just add water' concrete products - just follow the instructions below. For setting letterbox posts, clotheslines or uprights (stirrups) please see the individual project instructions. For steel or aluminium posts, please ensure that your posts are sealed according to the manufacturers' recommendations to prevent corrosion occurring.
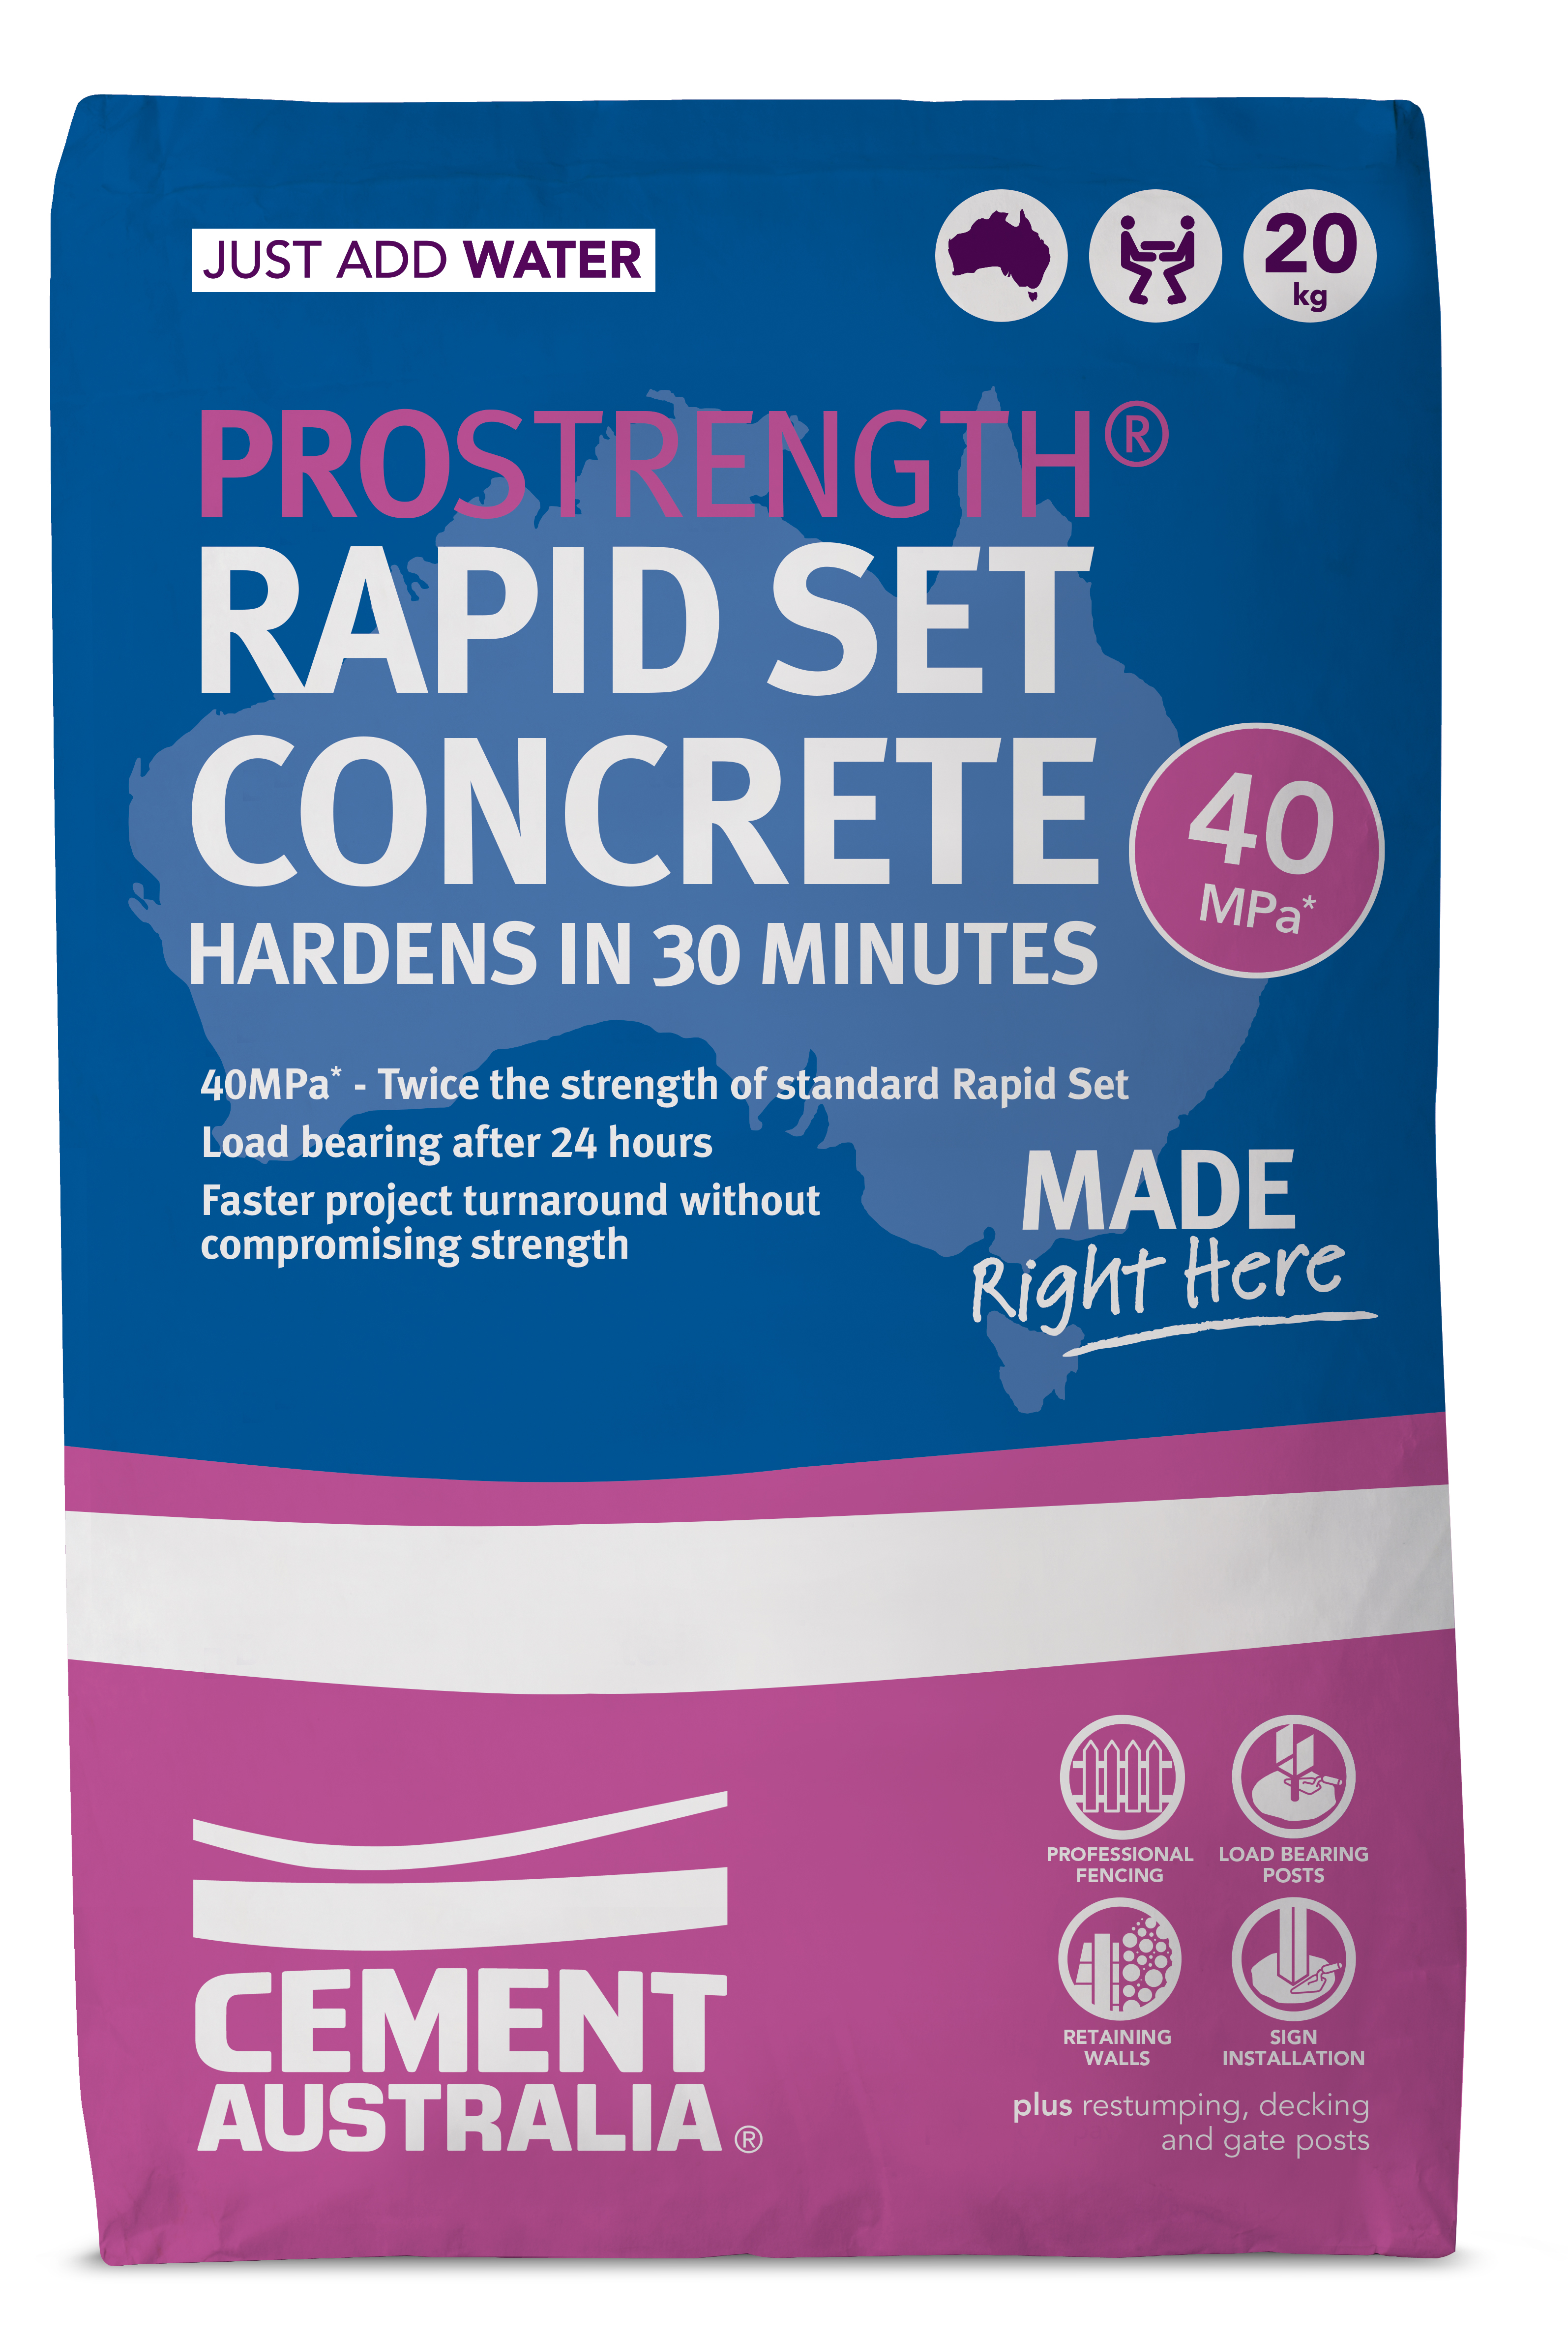
Made right here in Australia, Cement Australia's PROSTRENGTH® Rapid Set Concrete is designed to harden rapidly and deliver 40MPa* - twice the strength of a standard rapid set mix . Ideal for those more demanding jobs where higher strength is specified. Suitable for professional fencing, gates, commercial signs, retaining walls, sporting equipment installations and general building site and home projects.
![]()
Before you begin any project, please ensure you protect yourself with the following:
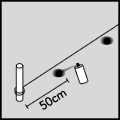
Place a stake at each end of where the posts are going to be erected and run a string line 5 cm above the ground in line with the posts. Mark out the location of each post hole using spray paint.
Place the end stakes 50cm beyond where the end posts are to be set so it is easy to dig the holes without impacting on the string line.
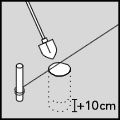
Dig your post hole(s) adding an extra 10cm depth to allow for gravel to be placed under the post for drainage.
Refer to our simple calculator to work out how much concrete product you will need.
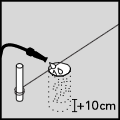
Pre-soak the hole thoroughly with clean water and allow the water to drain into the soil.
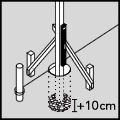
Place 10cm of gravel in the hole for drainage. Position your post in the centre of the hole, ensuring that it is vertical using the spirit level and square to the string line.
For wooden posts, brace in position using timber supports nailed to the post. Secure the supports into the ground with timber stakes and re-check the vertical alignment.
For metal posts, ask a friend to hold the post steady in position whilst you add the concrete.
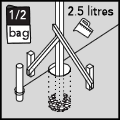
Accurately measure 2 litres of clean water per 20kg bag (add 0.3-0.5L only if needed) and add the water to the hole. Immediately pour in half the bag of Rapid Set Concrete making sure that it is evenly distributed around the post.
Check and re-check that the post is exactly vertical otherwise your finished fence will be out of alignment.
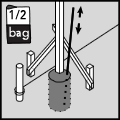
Tamp the product around the post using a rod to remove any air pockets. Add the remaining half bag of product and tamp again. Add small amounts of water only if required to ensure that the mix is completely moistened. Should you need more concrete for the hole, immediately repeat the process with another bag.
Tamping is essential to remove air pockets and achieve solidly set posts every time.
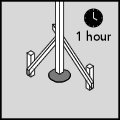
The product will harden initially in 15 minutes. Allow the Rapid Set Concrete to harden for at least 1 hour before removing the bracing supports. It is recommended to wait for 24 hours before affixing anything to the post.
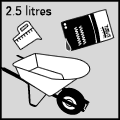
In a non-porous vessel, such as a wheelbarrow, add the Concrete Mix no more than 2 bags at a time. Add exactly the amount of clean water instructed on the back of the packaging per bag of Concrete Mix and mix thoroughly remembering that excess water ruins good concrete.
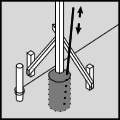
Add the correct amount of the mixed concrete to the hole, filling the hole to just below the ground surface. Tamp the product around the post using a rod to remove any air pockets. Should you need more concrete for the hole, immediately repeat the process with another bag.
Tamping is essential to remove air pockets and achieve solidly set posts every time.
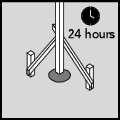
Allow the concrete to harden for at least 24 hours before removing the bracing supports. Wait for 3 days before affixing anything to the post.
If using Extra Strength Concrete Mix, supports can be removed in half the time.